Comment

Revolutionizing Studio Workflow: Our First Dive into 3D Scanning with the Creality CR-Scan Ferret

This weekend marked a significant shift in our studio’s creative journey, one that could potentially redefine how we approach our projects. I finally grabbed the Creality CR-Scan Ferret, a 3D scanner I've been curious about but hesitant to integrate into our workflow. Here’s the scoop on our early testing and the exciting possibilities it opens up.

The Impulse Buy That Could Change Everything

For years, the thought of adding a 3D scanner into the mix was on the back burner—interesting, but not quite compelling enough to act on. However, with recent upgrades to our studio’s hardware, enabling faster 3D processing and rendering, the timing felt right. The Creality CR-Scan Ferret, known for its ease of use and solid performance, seemed like the perfect tool to test the waters.

Out of the Box: Testing the Waters

Our first test subject? A Speedland footwear sample from our inventory. I was pleasantly surprised by how seamlessly the scanner integrated into our environment. The Ferret managed to capture every nook and cranny of the shoe, including challenging areas like the underside of the sole, which is often tricky to document with such precision.

What impressed me most was the ease with which I could adjust the product mid-scan to ensure complete coverage—a testament to the scanner’s user-friendly design. This functionality alone has huge implications for our workflow, potentially cutting down hours of back-and-forth with 3D modelers.

From Scan to Screen: A Seamless Transition

The true test came when I transferred the scanned model directly into Cinema 4D. Skipping the usual clean-up phase, I wanted to see how well the scanner’s output would hold up in our go-to 3D software. The results were nothing short of a revelation. The model not only imported flawlessly but also withstood various simulations and animations without any hitches. Our studio's upgraded Mac handled everything smoothly, managing hundreds of model clones and complex physics simulations without breaking a sweat.

The Potential Unleashed

This initial experiment has opened up a realm of possibilities. With the CR-Scan Ferret, we can now take a physical product, scan it, and almost immediately begin working with it in 3D space. This capability is invaluable for rapid prototyping and experimenting with different design concepts early in the creative process.

Imagine scanning a new product, then playing with lighting and angles right away in 3D, without first needing a physical prototype adjusted and re-adjusted for the camera. We can now streamline how we visualize products, testing and tweaking designs in virtual space with an accuracy and speed that were previously unattainable.

Looking Forward

The implications of incorporating the Creality CR-Scan Ferret into our workflow are thrilling. Not only does it enhance our ability to innovate and execute quickly, but it also aligns perfectly with our ongoing quest to blend efficiency with creativity.

As we continue to explore this tool’s capabilities and integrate it more deeply into our daily operations, I'm excited to share our discoveries and the new doors this technology opens for us. This is more than just a new gadget—it's a new way of thinking about and interacting with the 3D world.

Stay tuned for more updates as we delve deeper into the potential of 3D scanning. This journey is just beginning, and I can’t wait to see where it takes us and the innovative projects it helps bring to life.

Comment

Comment

Streamlined Elegance: Studio Product Photography with a Single Light Setup

Title: Mastering Minimalist Studio Lighting for E-commerce Product Photography

Introduction

Hey everyone! Whether you're a budding photographer or an e-commerce veteran, you know that great product photography can skyrocket your online sales. But here's a kicker—achieving stunning studio lighting doesn’t require breaking the bank with high-end equipment. In this guide, I'll show you how to set up a minimalist photography studio that's both budget-friendly and effective, perfect for products like footwear. Let's break down the essentials to capture clear, detailed, and appealing images that will grab the attention of potential buyers.

Crafting the Studio Setup

A minimalist studio setup hinges on a few key components that control and precision, even without fancy gear:

  • One Overhead Light: You don’t need the fanciest light on the market; a $200 LED light can do wonders for your product photography. LEDs are popular for their low heat output, energy efficiency, and adjustable color temperature, making them ideal for long shooting sessions without overheating. If your setup allows, adding a softbox or diffuser will soften shadows and reduce harsh glares, crucial for accurately showcasing textures and colors.

  • Seamless Paper on a Table: For a background, nothing beats the clean look of seamless paper. Opt for white to make your products pop without distractions. Keeping your backdrop flawless is key—clean the soles of shoes before placing them on the paper and use clamps to keep the paper taut and smooth.

  • Bounce Cards: To evenly light your product and fill in shadows, place white bounce cards around your setup. Materials like foam boards or white cardboard are not only effective but also cost-effective. Adjusting their positions can help you highlight specific features of the product, enhancing its appeal in photographs.

The Role of the Tripod

No studio setup is complete without a sturdy tripod:

  • Stability and Sharpness: It keeps your camera steady, essential for sharp, focused images.

  • Consistency: A tripod helps maintain the same angle and position for each shot, ensuring a uniform look across your product photos.

  • Precision Framing: Level your camera to be neutral in pan, tilt, and rotation. This alignment is crucial for professional-looking, consistent photos where the product is perfectly level and centered.

Camera Settings and Techniques

  • Aperture: Start with an aperture of F16 to maximize depth of field, keeping more of the product in focus which is ideal for detailed items like footwear.

  • ISO and Shutter Speed: Use a low ISO to minimize noise and adjust your shutter speed according to the lighting conditions to get the right exposure.

  • White Balance: Set this according to your light source to ensure the colors in your photos are true to life.

Post-Production and Additional Tips

Post-processing is where good photos become great:

  • Editing Software: Utilize affordable editing software to enhance brightness, contrast, and sharpness. Tools like batch processing can help maintain consistency across multiple images.

  • Reflectors and Flags: Use reflectors to fill in shadows and flags to block unwanted light, giving you more control over the lighting in your photos.

  • Color Checkers: Start your shoot with a color checker to ensure color accuracy during editing, which is especially important for e-commerce.

Practical Examples and DIY Solutions

  • Step-by-Step Setup: I’ll walk you through setting up your photography table, positioning lights, camera, and bounce cards, and preparing your product for the shoot.

  • DIY Solutions: For those on a tight budget, consider DIY alternatives like homemade bounce cards or using household lamps with daylight bulbs.

Conclusion

Remember, the goal is not just to take pictures, but to make each product shine and appeal to potential buyers. Experiment with different setups to find what works best for your specific products. With these tips, you’re well on your way to capturing photos that can enhance online sales by showcasing your products in the best possible light.

Comment

Comment

Behind the Lens: Elevating Your Business with Expert Online Store Photography

The Crucial Role of Photography in E-Commerce

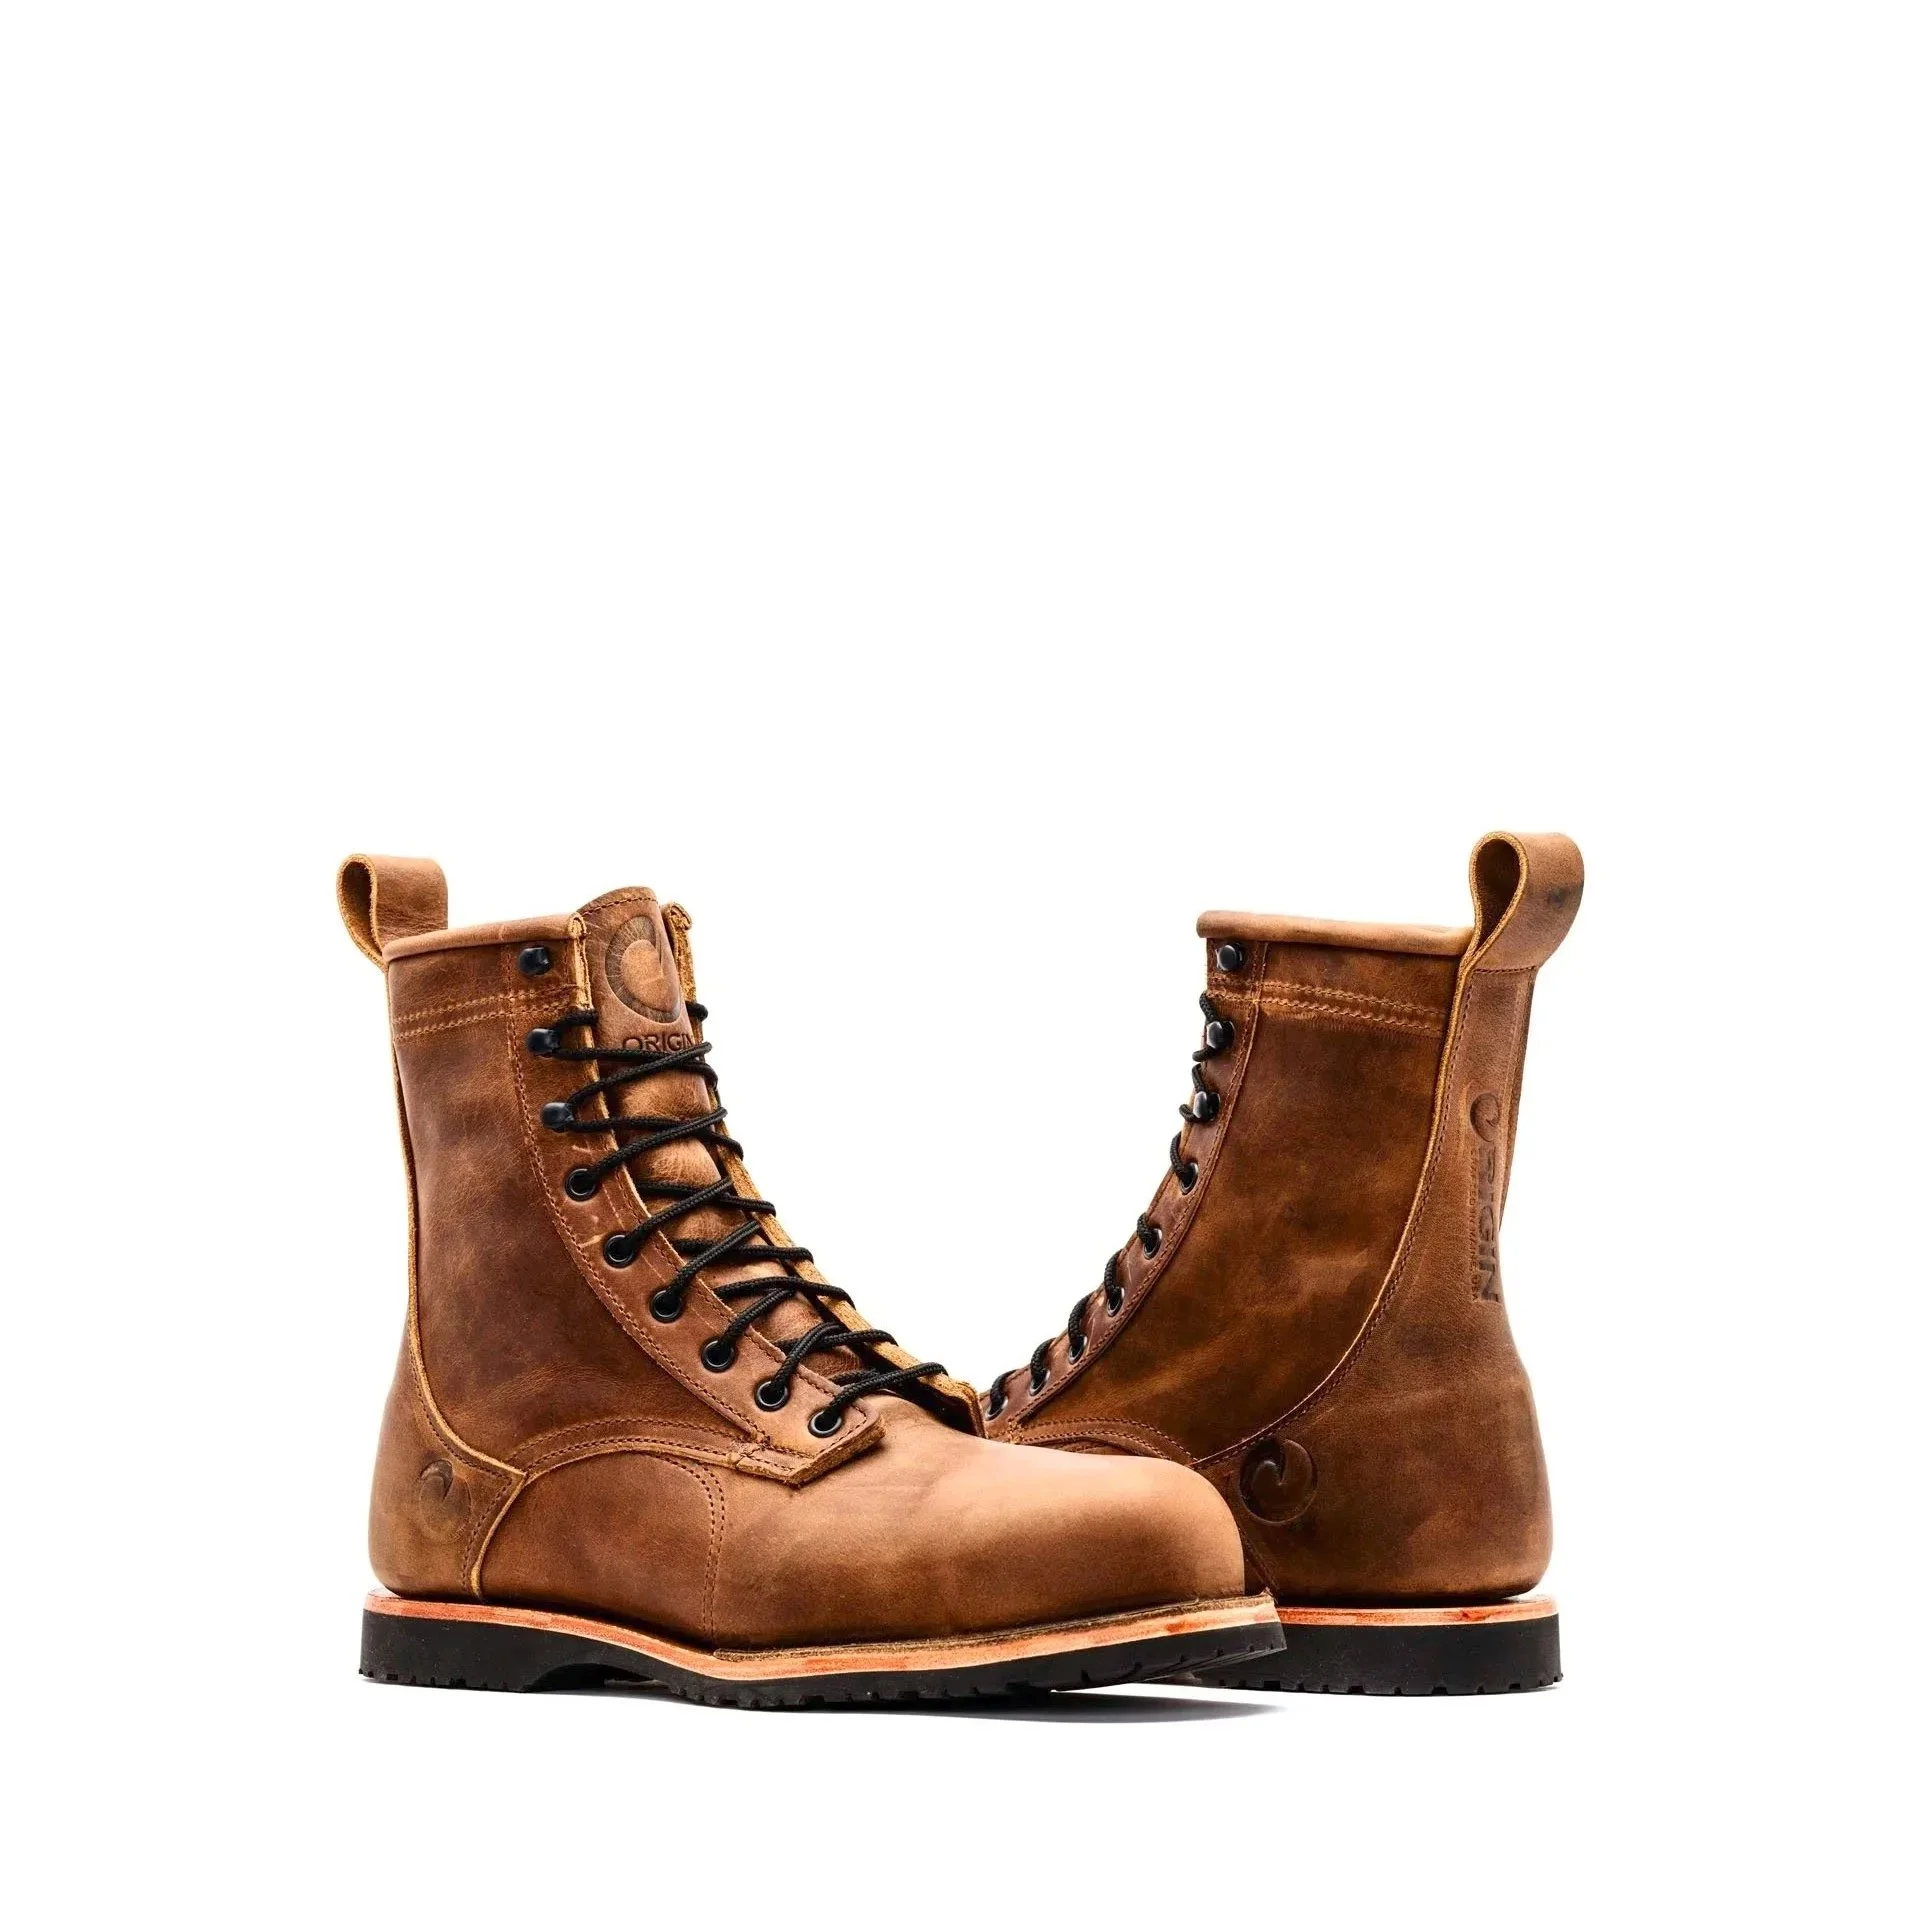
High-quality images in online stores do more than just showcase products; they create narratives that enhance the shopper's experience. By using optimal lighting and professional editing, images can significantly attract more customers and increase sales. Photography not only builds trust by communicating the value of the products but is also essential in converting visitors into buyers.

Comment